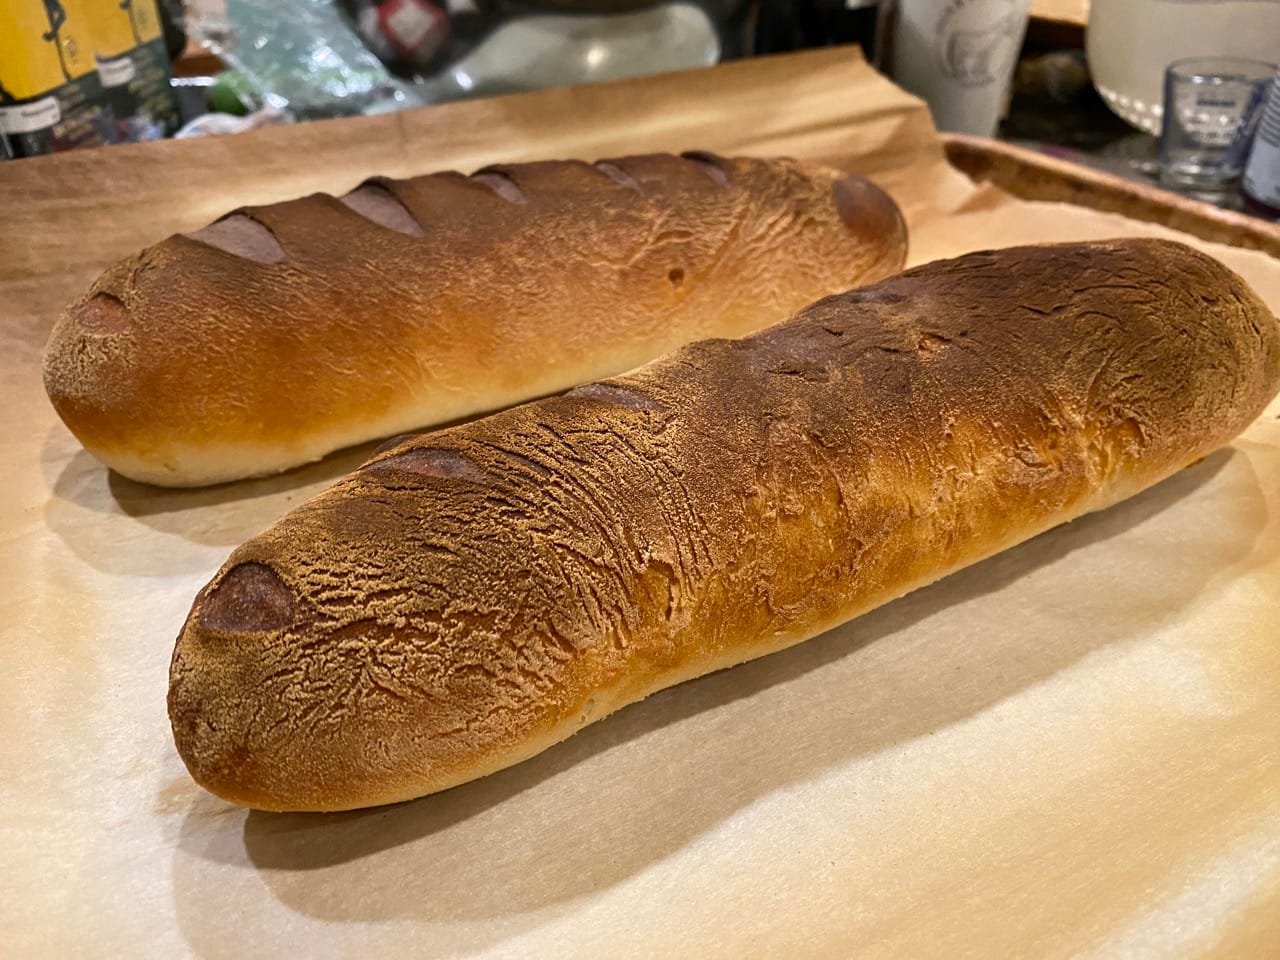
Breadfool
It's bread so the basic principles are pretty universal, but I'll try to describe my process as best as I can. Full disclosure - this turns out a little differently every time I make it, often because I'm letting the dough rise while I'm doing other things and the timing gets... variable. But at the end, it's always fresh, warm, bread. And it's hard to complain about that.
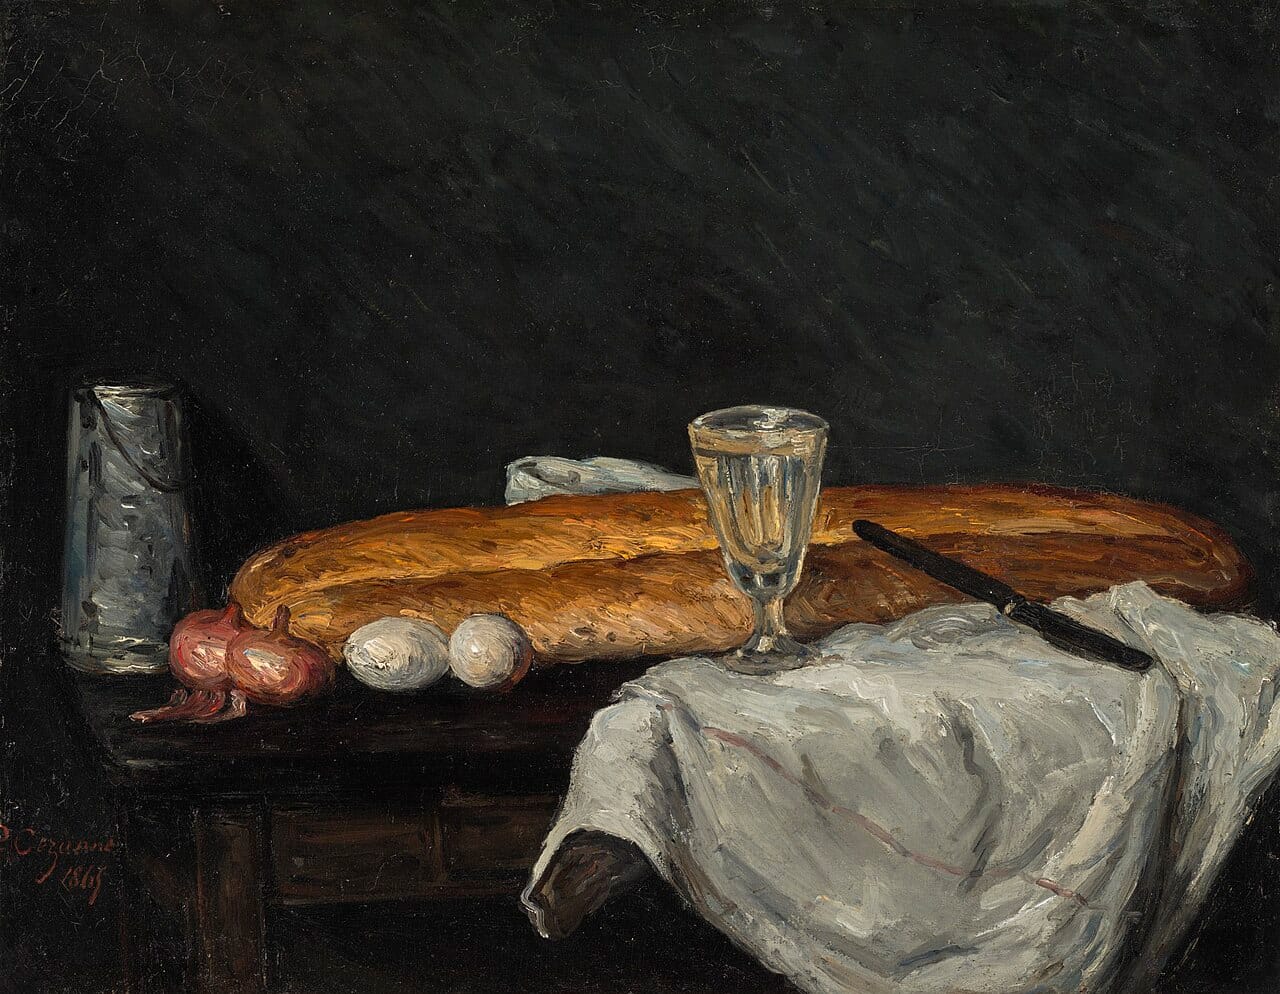
Also, if you've eaten this when I make it you've probably seen it be somewhat baguette shaped. This is also not a traditional baguette, I make no claims to authenticity. I just like that shape.
Also, this is a long post. It's not because making bread is complicated (though it does take a lot of waiting), that's still true, I'm just very, very thorough.
Okay, enough disclaimers.
Loaf me, loaf me, say that you loaf me
Wait, no, a few more disclaimers. I'm going to provide the quantities in grams and a best estimation of what that probably in measurements of cups/tbsp/tsp, but know that when I make this I am doing it by weight. Kitchen scales are fairly inexpensive and very useful for baking, I cannot guarantee results if doing this by other measuring implements.
I also don't guarantee results, just... regardless.
Mama tells me I shouldn't measure
A full batch (makes two loaves the way I divvy it way) needs:
- 488g (4 cups) bread flour
- I use Robin Hood Homestyle White
- 10g (1 tbsp) instant yeast
- I use Fleischmann's Instant Yeast/Bread Machine Yeast/Rapid Rise Instant Yeast (they're all exactly the same under different names)
- 12g salt
- I hesitate to estimate this in teaspoons because it really depends on how fine your salt is, but it's probably about 2 tsp of Diamond Crystal Kosher Salt.
- 355g (or ml, whatever) water between 110°F-120°F (43°C-49°C)
- Note 1: this is about 1.5 imperial cups, less in metric cups. In Canada we're too fucked up to know what anyone has in their kitchen, double check yours.
- Note 2: yes, that's pretty hot water. In fact 115°F is, conveniently, just the temperature my water comes out of my kitchen faucet at when it's turned all the way to hot. I recommend using a thermometer if you have one to double check yours, because if it gets much hotter it'll start having detrimental effects. If your water is cooler that's fine, it'll probably just affect your rise times - the hot water just helps get the yeast party going.
You can also make a half-batch for a single loaf (or two mini ones):
- 244g (2 cups) bread flour
- 5g (0.5 tbsp) yeast
- 6g salt (1 tsp)
- 178g water (0.75 'merican cups, still hot)
Tell me that you knead me
Combine all the ingredients, preferably in a stand mixer if you have one. They are very nice, I do highly recommend, but I accept that they are large and expensive beasts that are hard to justify for many. The half batch is easier if you're using your hands (and actually doesn't even work that well in my mixer because there's just not enough in there).
In the stand mixer, you'd probably expect to use a dough hook attachment - ha! No, that is naught but a deception. Use a flex edge beater if you have one that scrapes up the sides of the bowls. You can get a cheap one from Walmart for like $20.
Mix the dough in the stand mixer at low speeds, no more than level 2 on a KitchenAid. If you're being smart you could reserve a little flour to sprinkle down the sides of the bowl to stop it from sticking as it mixes. If you're me you walk away from that shit and get other things done. Though it is good to check in every once in a while to make sure the dough has not totally adhered to the attachment or found a way to flatten itself along the bowl to avoid contact.
After about 3-5 minutes (theoretically, I do not actually time this) return to your mixer and witness a stretchy mass of dough being whomped around. Most recipes I've read say it will eventually stop sticking to the sides of the bowl. My experience is that this does not happen, it'll always be pretty sticky, but it should hold together and be quite elastic, and should look uniform.
Extricate the dough from its beloved attachment. I just keep it in the mixer bowl at this point. If you're smart you'll flour your hands before you try to move it. Usually I am not smart.
I hear you can also do this in a food processor, which you might be more likely to have. You know how to search the internet, be independent and figure it out.
If you're doing this by hand, put everything in a bowl and mix it, with your hands or I guess potentially with some sort of implement if you're fancy folk. Keep kneading until it's uniform. Watch a YouTube video on how to do this if you need to, I don't have any technique you can learn from. Flouring your hands is pretty critical to avoid having accidental dough gloves.
I can't care 'bout anything but proof
Now, we mostly wait.
Before we wait, make sure the dough is covered. There are lots of ways people say you can do this, putting a towel over it, whatever. I stretch plastic wrap over the same bowl I just mixed it in.
You want the dough to roughly double in size. How long this takes exactly depends on factors like ambient room temperature and whether or not you remembered to set a timer on your phone. If your oven has a proof mode that can be very convenient, especially if your kitchen is a little chilly. In a warm room/proof mode oven, this takes about 40-50 minutes.
You then "punch down the dough", or the technique I learned was to take one edge and stretch/fold it all the way over the the other side, rotate 90 degrees and do that again on top of the last fold, four times in all, then flip it upside down so the seam is down. Cover it again, and let it proof another 40-50 minutes until double again, and then punch it down again.
If you're doing the full recipe, divide the dough ball into halves (or do it anyway with the half recipe if you want tiny little adorable loaves). Flour a surface/cutting board pretty heavily, and stretch the dough out into a rectangle as best you can, I probably get it about 12 inches by 7-8 or something like that, it's not super important. A rolling pin or wine bottle can help here, you'll probably want to flour that too. The dough will be very elastic and will resist, and try to stick to everything. Your petulant bread children will need a firm hand to be brought in line.
Once you've got it rectangle-ish, roll it up along the long edge to make a log. Pinch along the seam so it stays together, as well as the ends (I kind of stretch it over the ends so they're fully covered). Carefully transfer onto a baking pan, parchment paper helps keep it from sticking. Do this again with the other half, make sure they have a decent amount of room between each other and the edges of the pan - those are growing boys.
You can also make these any other shapes you want. I'm not your mother, do what you like.
If you like being a little fancy (of course you do) get a sharp knife and gently score diagonals every few inches along the top, no more than an eighth of an inch deep. Cover this as best as you can with a large towel or, if you're like me, wrestle three or four sheets of plastic wrap into a mess that you stare at angrily. I pop this into the oven and close the door to help keep the air from drying it out.
Wait another 45-60 minutes until they double in size again.
So I cry, and I spray, and I bake
The secret to the crust on my bread is water. I fill a second baking sheet with some water, probably not more than half a centimeter deep, and place that on the bottom rack of the oven (other rack should be about center).
Preheat the oven to pretty much as hot as it will go (I tell mine 500° and it tries its best but will struggle to get past 450°) with the water pan inside, we want it to get steamy. Remember to take the pan with the bread out first if you put it in there to proof.
If you don't want to do the whole second pan thing, you can also try spraying them with water - apparently it has a similar effect. You basically just want steam on the outside making that crust.
Once your oven is preheated, or seems to have stopped making significant progress towards its goals, pop that pan with the loaves in there (watch out for the cloud of steam as you open the oven).
Depending on how hot your oven got and the shape of your loaves, the exact time is variable - could be 8-10 minutes if it's closer to 500°, could be more like 15-20 if it's 400°. The colour isn't necessarily the best indicator - they should sound hollow when tapped. Or, if you have an instant read thermometer (like meee), you don't have to do all this guessing and you can just pull them when the inside reads 190° F.
Remove from the oven, stare at them intently as they cool, preferably on a wire rack to speed it up a little. Eat warm bread.
Could you at least try to be more concise
Yeah fine, here is what I actually follow:
- 488g bread flour
- 10g instant yeast
- 12g salt
- 355g water between 110°F-120°F (43°C-49°C)
- Or half:
- 244g bread flour
- 5g yeast
- 6g salt
- 178ml water
- Combine ingredients in stand mixer. Mix until it mostly no longer sticks to bowl.
- Proof 40minutes-50minutes until doubled
- Take out and fold dough each edge over center, place seam side down. Cover at let rise another 40min-50mins
- Fold dough over again. Divide into 2 halves. Roll out on floured surface and stretch to a rectangle/oval. Roll up and seal seams/cover ends.
- Score tops
- Let rise for 45-60 minutes
- Heat oven to 500 with a pan of water at the bottom.
- Cook for 8-10 min and check. Ready at internal temp of 190